

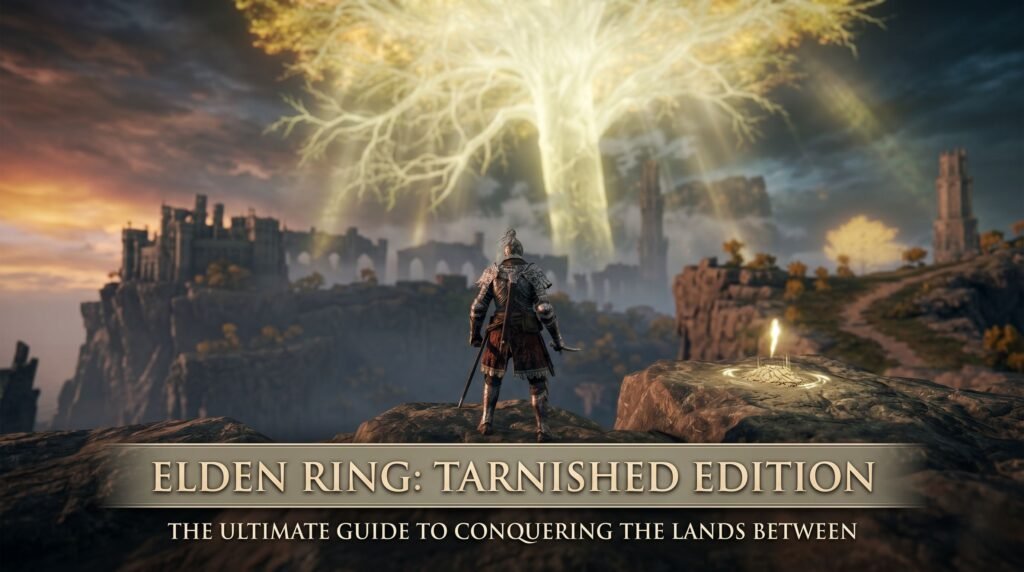
Elden Ring Tarnished Edition: The Ultimate Guide to Conquering the Lands Between
By Saad
From Software’s masterpiece has redefined the dark fantasy action RPG landscape. Whether you are a newcomer stepping into Limgrave for the first time or a seasoned veteran preparing to tackle the brutal challenges of the Shadow of the Erdtree expansion, understanding the mechanics of the Elden Ring Tarnished Edition is your key to survival.
This comprehensive guide breaks down the core systems, optimization strategies, deep lore mechanics, and technical setups required to transform your character from a low-level outcast into the ultimate Elden Lord.
1. Introduction to the Tarnished Journey
The Legacy of the Greater Will
In the world of Elden Ring, the Lands Between were once blessed by the Golden Order and the cosmic power of the Elden Ring, symbolized by the towering, luminous Erdtree. However, following the destruction of the Ring during an event known as the Shattering, the demigod children of Queen Marika claimed the shards (Great Runes). This triggered a devastating, stalemated war.
As a Tarnished, you belong to an exiled lineage of warriors who once lost the golden grace of the Erdtree. Now, revived by a faint glimmer of that same guidance, you are pulled back to these broken lands to defeat the corrupt demigods, reclaim the Great Runes, and mend the Elden Ring.
Understanding the Tarnished Edition Experience
The concept of a “Tarnished Edition” represents the definitive, fully realized version of the game. It combines the massive base game with its comprehensive balance patches, technical optimizations, and major content updates. Navigating this experience requires balancing open-world survival with mechanical mastery.
Unlike traditional, linear dark fantasy RPGs, this environment gives you absolute freedom to choose your progression path. If a specific boss presents an insurmountable wall, you can simply turn around, explore hidden corners of the map, gather resources, level up your attributes, and return whenever you are ready.
2. Character Creation and Class Optimization
Selecting your starting class is one of the most critical early decisions you will make. While any class can eventually evolve into any playstyle as you level up, your starting attributes and equipment dictate your survival rate during the challenging early hours.
Analysis of Base Classes
To help you choose the ideal foundation for your playstyle, consider this breakdown of the primary starting classes available:
| Class | Primary Stats | Starting Equipment | Best Fit For |
| Vagabond | Vigor, Strength, Dexterity | Longsword, Halberd, Heater Shield | Beginners, Quality Melee Builds |
| Samurai | Dexterity, Endurance | Uchigatana, Longbow, Land of Reeds Armor | Hybrid Melee/Ranged, Bleed Builds |
| Astrologer | Intelligence, Mind | Astrologer Staff, Shortsword, Sorceries | Pure Magic, Ranged Spellcasting |
| Prophet | Faith, Mind | Finger Seal, Spear, Incantations | Holy/Fire Magic, Healing, Pyromancy |
| Hero | Strength, Vigor | Battle Axe, Large Leather Shield | Heavy Weapons, Pure Strength Builds |
| Wretch | Balanced (All 10) | Club (No Armor) | Veterans, Custom Optimization |
Selecting the Right Starting Keepsake
During character customization, you can choose one bonus item to accompany you into Limgrave. Choosing wisely provides a major early-game advantage:
- Golden Seed: Highly recommended for all players. It allows you to immediately upgrade your Flask allocation at a Site of Grace, giving you an extra healing or mana charge right from the start.
- Crimson Amber Medallion: Provides a modest boost to your maximum health pool, increasing your early survivability against heavy-hitting enemies.
- Stonesword Key: Used to unlock sealed fog doors guarded by imp statues. While valuable, these can be found or purchased throughout the world, making the Golden Seed a more impactful choice for immediate progression.
3. Core Combat Mechanics and Gameplay Systems
Combat requires a careful balance of patience, timing, and resource management. Mastering the foundational defensive and offensive mechanics will significantly reduce your death count.
Managing Stamina and Positioning
Almost every action you take—including attacking, sprinting, dodging, and blocking—consumes Stamina. Running out of Stamina leaves you completely vulnerable, preventing you from dodging incoming attacks or maintaining your guard. Always monitor your green Stamina bar during engagements.
Avoid greediness; instead of exhausting your entire resource pool on a long attack chain, deliver two or three calculated strikes, then retreat or circle your target to let your Stamina recover.
Perfecting Dodging, Blocking, and Guard Counters
Defensive choices should match your build’s equipment setup:
- Dodge Rolling: Provides brief frames of total invulnerability (i-frames). For maximum effectiveness, roll through or into incoming attacks rather than away from them. This positions you perfectly next to the enemy to execute a counter-attack once their animation ends. Keep your equipment weight below 70% to avoid a sluggish “fat roll.”
- Shield Blocking: A reliable option if you use a shield with 100% Physical Damage Negation. Blocking drains Stamina based on the shield’s Guard Boost stat.
- Guard Counters: A powerful mechanic executed by pressing the Heavy Attack button (R2/RT) immediately after blocking an enemy’s strike. This triggers a swift, high-impact counter-attack that inflicts massive stance damage, often leaving enemies vulnerable to a critical hit.
Mastering Posture Breaks and Critical Hits
Every entity in the game possesses an invisible posture or stance threshold. Landing heavy attacks, fully charged strikes, jump attacks, and Guard Counters depletes this threshold.
When an enemy’s posture shatters, an audible chime plays, and the enemy collapses into a brief state of vulnerability. Quickly approach their designated weak point (marked by a glowing golden aura on larger targets) and press your Light Attack button to execute a high-damage critical strike.
4. Advanced Build Strategies
As you accumulate runes and level up, focusing your stats into a cohesive archetype will drastically increase your damage output and survivability in late-game zones.
Melee Powerhouses: Strength vs. Dexterity
Melee combat generally splits into two distinct paths:
- Strength Builds: Focus on wielding colossal swords, axes, and hammers. These weapons feature slow animations but deliver unmatched stance damage, breaking enemy guards with just a few heavy blows. Investing heavily in Strength also increases your natural physical defense.
- Dexterity Builds: Prioritize swift, agile weapons like katanas, curved swords, and thrusting rapiers. These weapons scale exceptionally well with status afflictions like Blood Loss (Bleed), allowing you to shred high-health targets through rapid succession strikes.
Mastering Magic: Sorceries vs. Incantations
Magic builds offer versatile ranged options and powerful utilities:
- Glintstone Sorceries (Intelligence): Primarily focused on raw, high-impact magic damage. Spells like Glintstone Pebble provide reliable, cost-effective ranged damage, while late-game sorceries like Comet Azur can decimate boss health pools when paired with the right buffs.
- Incantations (Faith): Offer an adaptable toolkit that combines offensive lightning, fire, and holy spells with healing remedies and powerful defensive buffs. This makes Faith an incredibly resilient choice for exploring dangerous environments.
The Power of Status Effects
Status mechanics can bypass raw defensive stats, making them highly effective tools:
- Blood Loss (Bleed): Builds up an affliction meter with each successful hit. Once filled, it instantly detaches a massive, flat percentage of the target’s maximum health pool.
- Frostbite: Deals immediate burst damage upon filling the meter, while lowering the target’s overall defense by 20% and slowing their stamina recovery for a brief duration.
5. Exploration, Navigation, and World Systems
The world map is massive, layered, and filled with hidden pathways. Efficient navigation is essential for discovering powerful equipment and upgrade materials.
Navigating via Sites of Grace and Guiding Light
Sites of Grace serve as your checkpoints, glowing fires where you can rest to replenish your health, focus points, and flasks. Resting also respawns standard world enemies.
Many major Sites of Grace project a visible beam of golden light both in the game world and on your map screen. This “Guidance of Grace” acts as a subtle compass, pointing you toward the primary checkpoints and critical objectives needed to progress the main storyline.
Maximizing Your Spectral Steed, Torrent
Early in your journey, you will receive the Spectral Steed Whistle to summon Torrent. Torrent is essential for traversing wide plains, escaping dangerous world bosses, and reaching high cliffs using glowing Spiritspring jumps.
In mounted combat, timing is everything. Use sweeping, charged heavy attacks while riding past enemies to deal high damage without stopping, keeping you safe from their counter-attacks.
Upgrading Weapons via Smithing Stones
Your raw character level matters, but upgrading your weapons is the fastest way to increase your damage output. Standard weapons require normal Smithing Stones to reach a maximum level of +25, while unique boss weapons require Somber Smithing Stones to reach a maximum level of +10.
Prioritize exploring underground mines and tunnels—clearly marked on your map as dark, red-ringed holes—as these locations contain a wealth of upgrade stones and valuable crafting materials.
6. The Quest for the Great Runes
To progress through the final areas of the game and mend the Elden Ring, you must hunt down the demigod Shardbearers and claim their Great Runes.
Demigod Targets and Strategies
Conquering the main campaign requires defeating legendary Shardbearers across diverse regions. Prepare your character for these major encounters:
[Godrick the Grafted] ---> [Rennala, Queen of the Full Moon] ---> [Starscourge Radahn]
   (Stormveil Castle)             (Raya Lucaria Academy)              (Caelid Wilds)
           |                                |                               |
   Deals heavy physical            Master of sorcery; use          Massive reach and gravity
   damage; watch out for           physical attacks to disrupt     attacks; utilize NPC summons
   his fiery second phase.         her spellcasting easily.        scattered across the arena.
Divine Towers and Rune Activation
Defeating a Shardbearer rewards you with an inert Great Rune. To harness its power, you must locate and scale the specific Divine Tower located within that demigod’s geographical region.
Once you reach the top of the tower and restore the rune’s power, you can equip it at any Site of Grace. To activate its bonuses in combat, consume a Rune Arc. This provides a massive, temporary passive benefit—such as Godrick’s Great Rune boosting every single one of your character attributes by +5—that lasts until your next death.
7. Technical Optimization, Co-op, and Multiplayer
An optimal technical configuration and a solid understanding of online play systems are essential for a smooth experience.
PC and Console Performance Settings
To maintain a stable 60 frames per second during chaotic boss fights, apply these optimization steps:
1.Optimize Shadows and Lighting:Graphics Menu.
Lower Shadow Quality and Volumetric Effects from Maximum to Medium/High. These specific settings heavily tax hardware during open-world weather transitions but offer minimal visual difference during fast combat.
2.Adjust Shaders and Ray Tracing:Advanced Settings.
Set Shader Quality to High and turn off Ray Tracing entirely unless you are using a high-end graphics card. Ray tracing causes significant performance drops in areas with dense foliage like Limgrave and Altus Plateau.
3.Configure Display Mode:System Settings.
Switch your screen mode to Borderless Windowed or Fullscreen. Avoid playing in basic Windowed mode, as it can cause frame stuttering and micro-lags when loading new assets across loading zones.
Co-op Summoning and PvP Invasions
Multiplayer functions through unique, consumable finger remedies:
- Cooperative Play: Consume a Furlcalling Finger Remedy to reveal golden summon signs placed by other players on the ground. Activating a sign brings that player into your world to assist you. Keep in mind that hosting a cooperative player opens your world to random PvP invasions by hostile players.
- Competitive PvP: If you prefer pure competitive combat without exploring the open world, travel to the various massive Coliseums scattered across the map to engage in structured 1v1 duels or team battles.
8. Conclusion: Claiming Your Throne
The path to becoming the Elden Lord is filled with constant challenges, brutal defeats, and unforgettable victories. Every death is an opportunity to learn: a chance to study an enemy’s attack patterns, refine your attribute distribution, or optimize your equipment loadout.
Embrace the freedom of the open world, rely on your trusty steed Torrent, and experiment with the massive variety of weapons, spells, and status effects at your disposal. The Lands Between are broken, waiting for a champion to reshape their future. Rise, Tarnished, and claim your throne.
Frequently Asked Questions
Can I complete Elden Ring without using magic?
Yes. Pure physical builds utilizing Strength, Dexterity, or a balance of both (Quality builds) are entirely viable and capable of clearing all end-game content.
What happens if I accidentally attack an friendly NPC?
If you aggro a friendly character, do not eliminate them. Travel to the Church of Vows located in Liurnia of the Lakes and offer a Celestial Dew item at the statue of absolution to restore their friendly status.
How does the multiplayer leveling scale work?
When summoning friends via a shared multiplayer password, the game automatically scales down high-level password summons to match the host player’s current world level, ensuring a balanced cooperative experience.